Turns one finished long video into five to ten branded vertical clips plus a multi-platform caption set.
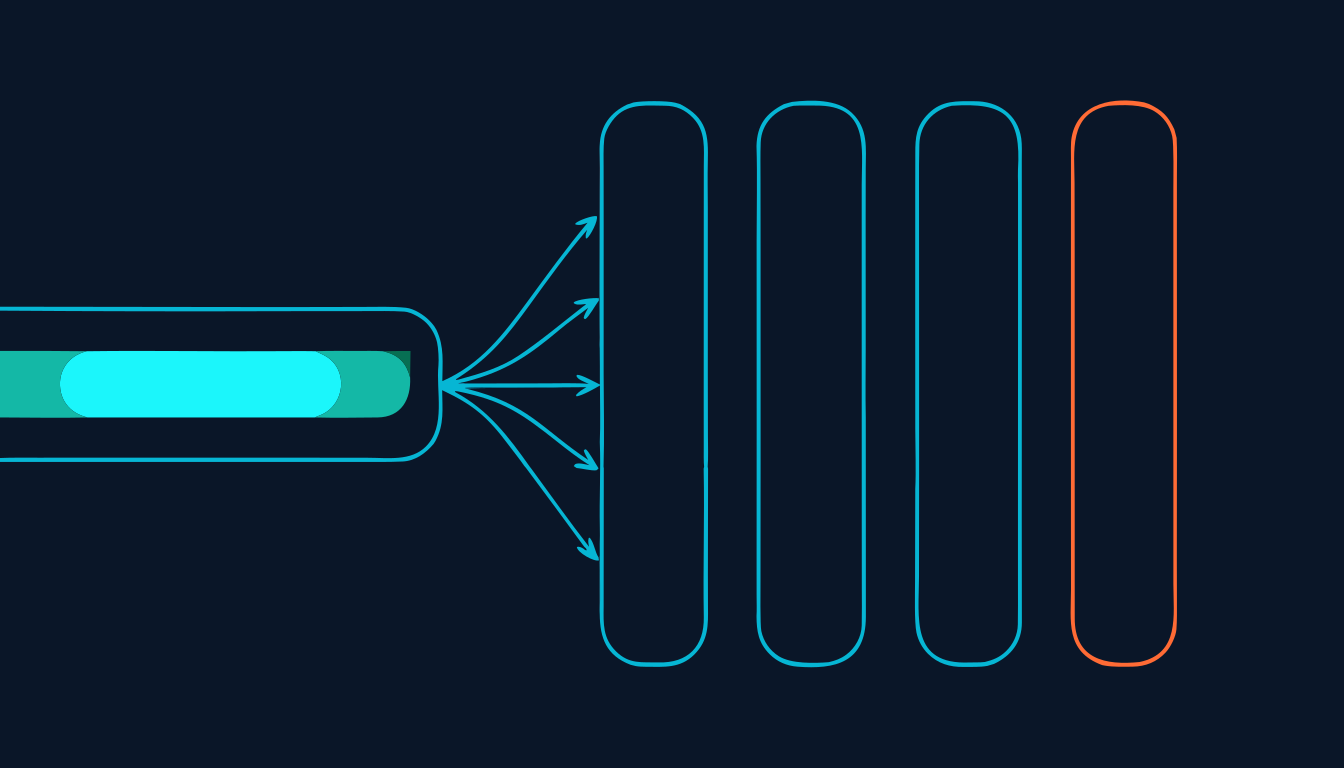
Takes one existing finished long video, a podcast, interview, webinar or keynote, and harvests it into 5 to 10 branded 9:16 clips at 1080x1920, each with a hook card, synced burned-in captions, an optional stat slam, a lower-third and a source credit. It then calls social-caption-writer for a full caption set per clip across TikTok, Instagram, YouTube Shorts, LinkedIn and Facebook, and packages the lot for delivery. Clips are reframed either letterboxed, keeping both speakers in frame, or full-bleed with face-centred cropping. It only cuts and reframes footage that already exists in the source; it never generates new footage.
This skill has no button. You start it by saying what you want. Any of these will do it:
| If you actually want | Use this instead |
|---|---|
| turning a video into carousels, threads, blog posts or other text assets | content-repurposer |
| finishing raw footage you recorded yourself | auto-editor |
| writing only the post captions with no video work | social-caption-writer |
| planning new generated footage shot by shot | video-prompt-builder |
| What you need | Why | |
|---|---|---|
ffmpeg and ffprobe on your PATH | they do every cut, reframe and probe, so the pipeline stops without them | Required |
Node.js with hyperframes runnable, which also provides the whisper transcription step | it produces the word-level caption timing and renders every branded composition | Required |
| A licence, written permission or clear ownership of the source video | for any third-party source the rights gate blocks building, not just publishing. Nothing gets cut or rendered until the rights basis is confirmed | Required |
| Workspace brand files with colours, fonts, name, credentials and handle | hook cards, lower-thirds and source credits are built from them before any visual is rendered | Required |
yt-dlp installed | only needed if you are giving it a URL rather than a local file | Optional |
opencv-python-headless installed | powers face-centred cropping for full-bleed clips. Without it, full-bleed falls back to a centred crop that you check by hand; letterbox clips do not need it at all | Optional |
Your own Gemini API key on a paid tier, set as GEMINI_API_KEY, plus the operator's video-analyzer tooling | it auto-finds and ranks the strongest moments. Without it you transcribe the source and pick clip timestamps by hand, and every downstream stage runs identically | Optional |
| A cloud drive or doc tool the workspace has approved | used only for the optional final packaging stage. The local clips folder is already the deliverable | Optional |
This skill runs shell scripts, ffmpeg, whisper and a Node render pipeline. Expect to run commands. On a Mac the setup is about fifteen minutes.
"Whisper" is at least six different products, and picking the wrong one is the most common setup failure. The wrong one installs perfectly and the skill still refuses to start.
This skill looks for a command called whisper-cli, and only whisper.cpp provides it. OpenAI's Whisper (openai-whisper on pip) gives you a command called whisper, which will not satisfy the check. Neither will faster-whisper, WhisperX, MacWhisper or Whisper Transcribe. If you installed Whisper and the skill still says it is missing, this is why.
Cut, reframe and probe. Mandatory.
Word timing for captions. Homebrew's bundled model is a test fixture, so download a real one.
Branded compositions and captions.
Only needed if your source is a URL to download. Skip it if you already have the video file.
Face-centering when reframing to vertical. Without it the skill falls back to a centred crop that you check by hand.
One command. Every line should print something. If whisper-cli is the line that fails, re-read the box above.
social-caption-writer for a per-clip caption set across TikTok, Instagram, YouTube Shorts, LinkedIn and Facebook, written in the speaker's voice. It then packages the final clips, the caption file and the rights provenance record. Uploading to a cloud drive is an optional last step, not a requirement.brand/[workspace]/clip-build-<DD-MM-YYYY>/ holding source/, work/, production/clip-N/ and clips-final/| The mistake | Do this instead |
|---|---|
| Treating the guest's permission as clearance for the footage | Identify the copyright holder of the recording, normally the show, producer or publisher, and get a licence or written permission from them before anything is built. |
| Batching all the clips before looking at one | Approve clip 1 fully first. The composition script blocks batching until that flag is set, precisely because a wrong look multiplied by seven is expensive. |
| Asking a non-technical client to pick timestamps and crops | Run the non-technical path instead: top clips by hook strength, one house reframe style for the whole set, and hand back a draft set they simply approve or reject. The rights gate still applies in full. |
| Letting a platform-risky moment through because it is a strong hook | Self-harm, graphic or platform-risky lines get cut or flagged for your explicit decision. They never ship silently. |
| Re-rendering the clips because the cloud upload failed | The local clips folder plus the caption file is already the deliverable. Hand that over and retry packaging later. |
Keep every hook card, caption line and stat slam inside the centre band of the frame. The top roughly 15 percent and the bottom roughly 25 percent get covered by platform UI, so text that looks perfectly placed in your render is unreadable in the feed.