Get Started with Agency OS
A step-by-step guide for Mac and Windows. No coding experience required. Budget around 30 minutes for your first setup. After this, it takes seconds to start.
Agency OS runs inside Claude Code on your computer
Claude Code is an AI assistant that runs on your computer, either through the Claude Desktop App or through Terminal (Mac) / PowerShell (Windows). It reads, writes, and manages files directly on your machine. Agency OS is a plugin that gives Claude Code specialist skills and commands purpose-built for growing your agency.
Prerequisites
You need two accounts before installing Claude Code.
Claude Account
A paid Claude plan. Sign up at claude.ai
GitHub Account
Free account at github.com. Send our team your GitHub username so we can add you as a collaborator on the Agency OS repo.
Installation
Select your operating system and follow the steps.
Download the Claude Desktop App
Go to claude.ai/download and download the app for your Mac or Windows computer.
Open the app and sign in with your Claude account (Pro or Max plan required).
Install GitHub CLI (one-time terminal step)
You need this for plugin access. Follow the instructions for your operating system only.
Open Terminal (Cmd+Space, type Terminal, Enter).
After Homebrew is installed, run:
Select: GitHub.com > HTTPS > Login with a web browser. Follow the prompts.
Open PowerShell (Windows key, type PowerShell, Run as administrator).
Close and reopen PowerShell. Then run:
Select: GitHub.com > HTTPS > Login with a web browser. Follow the prompts.
Open the Code tab and select a folder
In the Claude Desktop App, click "Code" at the top (next to Chat and Cowork).
Click "Select a folder" and create one new folder called Agency OS in your Documents. Select it.
Do not create separate folders for each of your brands. Agency OS will create those subfolders for you.
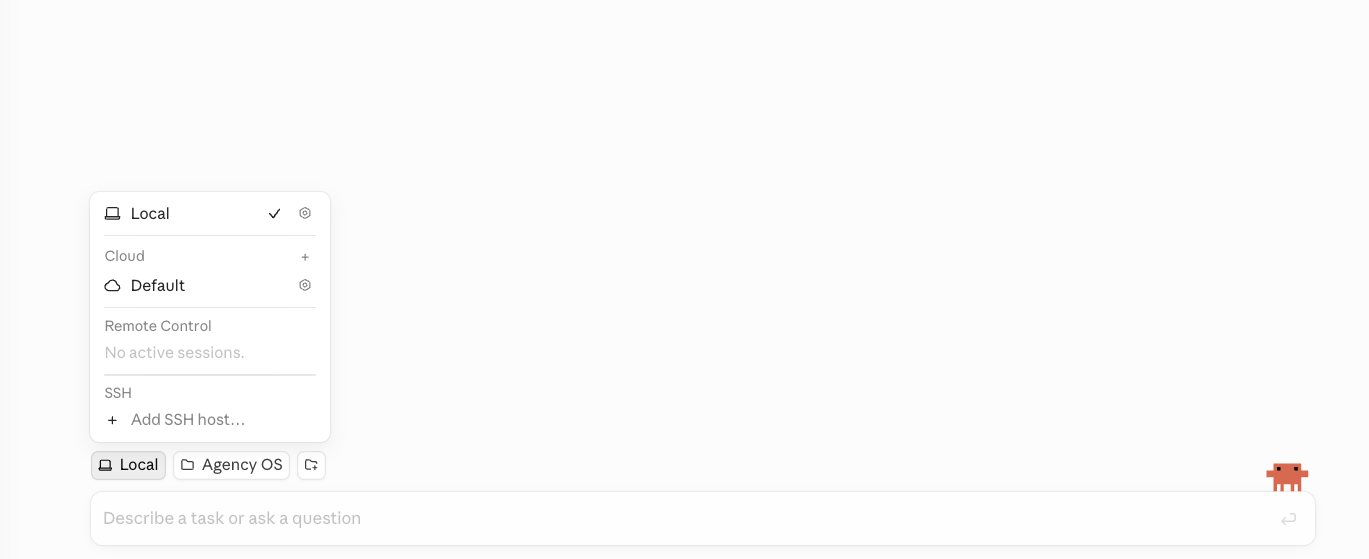
Switch to Local mode (important)
Before you do anything else in the Code tab, click the mode selector at the bottom of the window and choose Local, not Cloud / Default.
Install Agency OS plugin
Step A: In the Code tab chat input, paste:
Step B: Wait for Step A to finish. Then paste:
Restart the Claude Desktop App (hard quit)
The plugin will not fully register until you close the app completely and reopen it. Closing the window is not enough.
Mac:
Right-click the Claude icon in your Dock and choose Quit. Or press Cmd+Q while Claude is the active app.
Windows:
Close the window, then open the system tray at the bottom right of your taskbar (click the ^ arrow if icons are hidden). Right-click the Claude icon there and choose Quit or Exit. If it is still running, open Task Manager (Ctrl+Shift+Esc), find Claude, and End task.
Reopen the app and go back to the Code tab.
Verify the plugin is installed
In the Code tab chat input, ask:
Or type /agency-os and see if it autocompletes. If it does, you are installed.
Start Agency OS
Type in the Code tab:
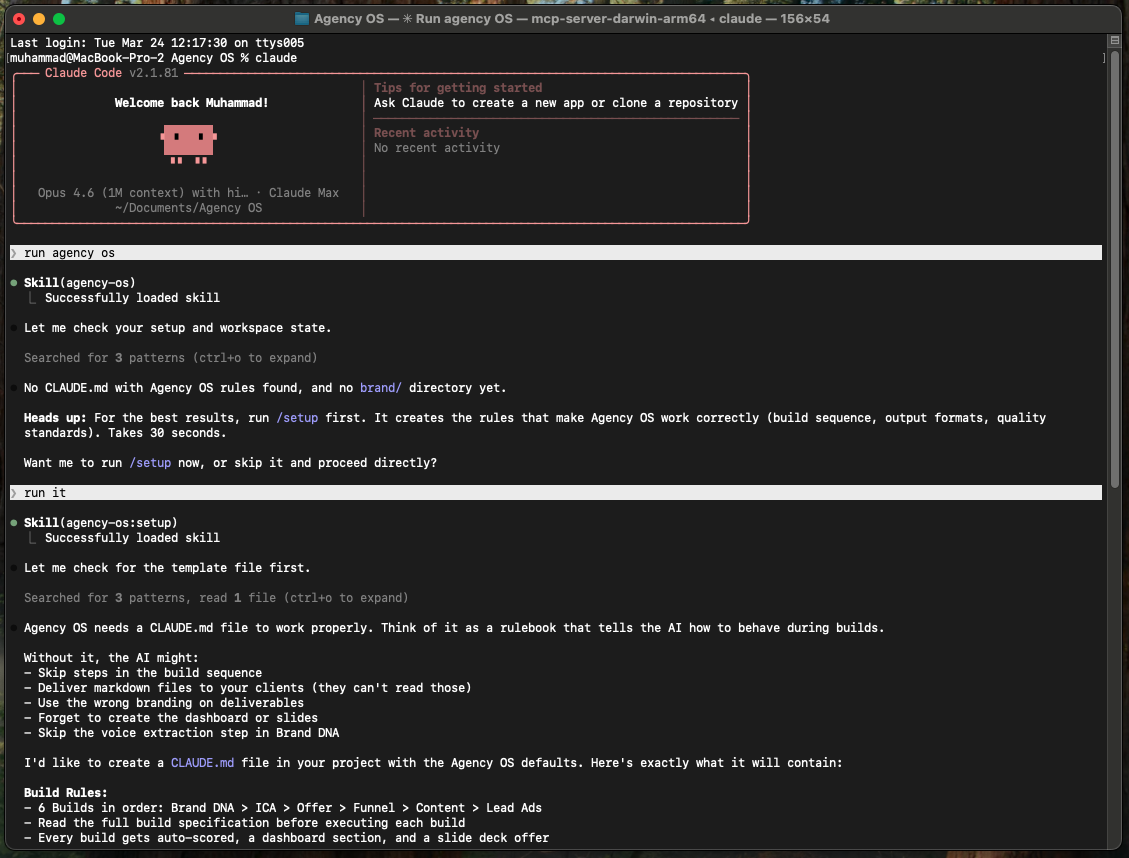
If you do not already have a CLAUDE.md file in the folder, accept the prompt to create one. If you do have one, leave it as is.
The system walks you through everything from here, starting with Build 1: Brand DNA.
Open Terminal
Open Finder (the smiling face in your Dock). Go to Applications > Utilities > Terminal. Double-click to open it.

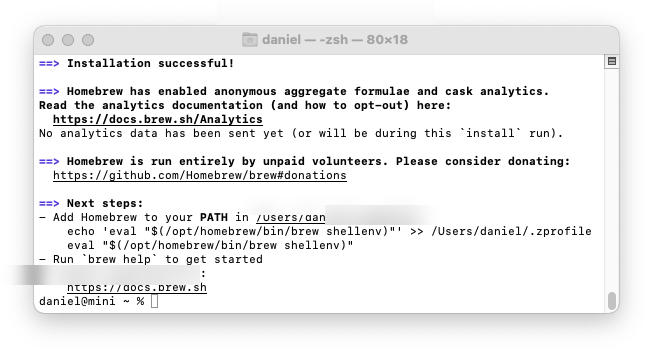
Install Homebrew (package manager)
Paste this into Terminal and press Enter. It will ask for your Mac password (the one you use to log in to your computer).
After it finishes, it will show "Next steps" with commands to add Homebrew to your PATH. Run each of those commands one at a time.
Install GitHub CLI
Wait for it to finish. You will see a beer mug icon when it is done.
Log in to GitHub
Select: GitHub.com > HTTPS > Login with a web browser. It will open your browser. Log in and enter the code shown in Terminal.

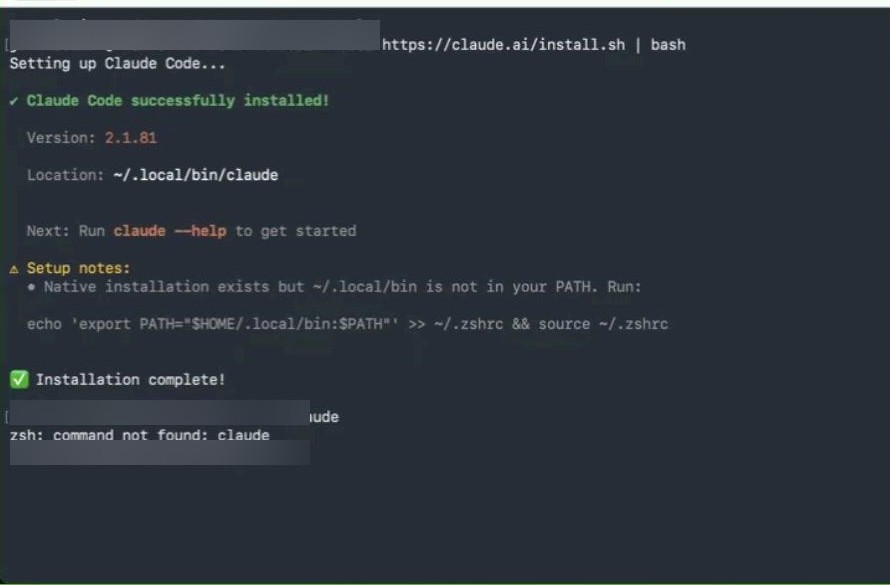
Install Claude Code
Wait for it to finish. You will see "Claude Code successfully installed!" and "Installation complete!"
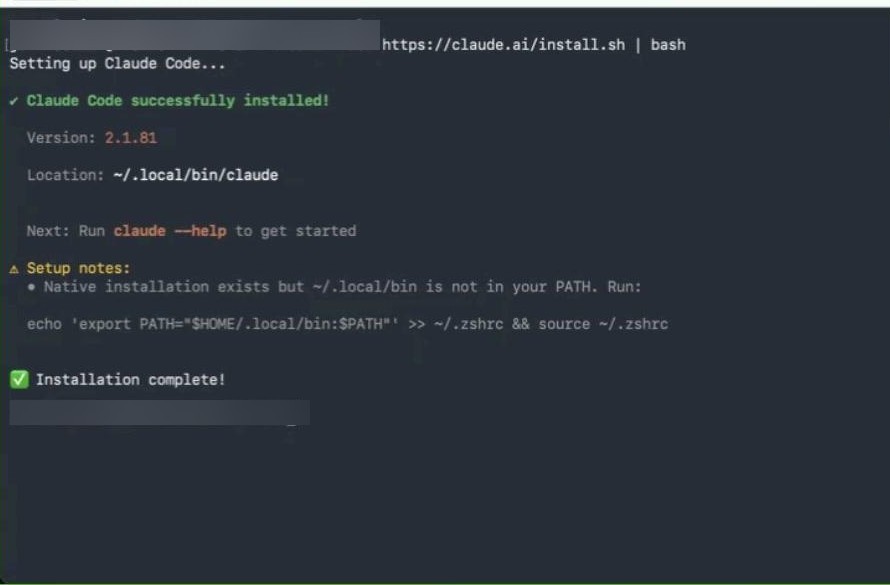
If it says ~/.local/bin is not in your PATH, run the command it shows you, then close and reopen Terminal.
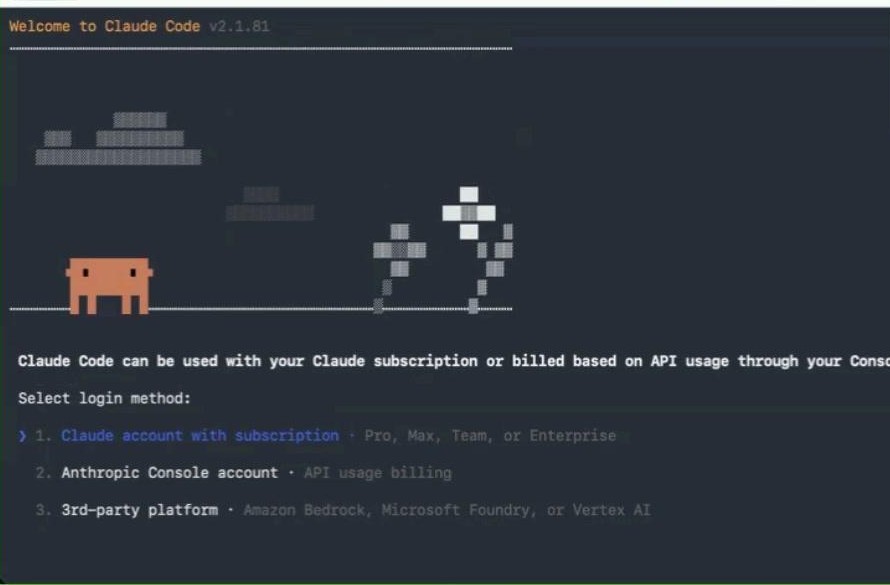
Type claude and press Enter. You will see the Welcome screen. Select "Claude account with subscription" and follow the browser prompts to log in.
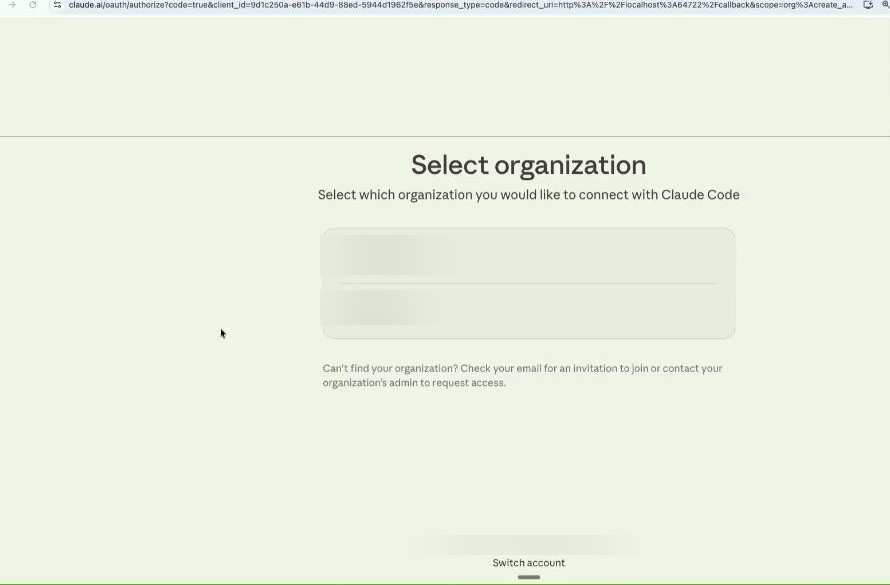
Your browser will open. Select your organization and confirm access.
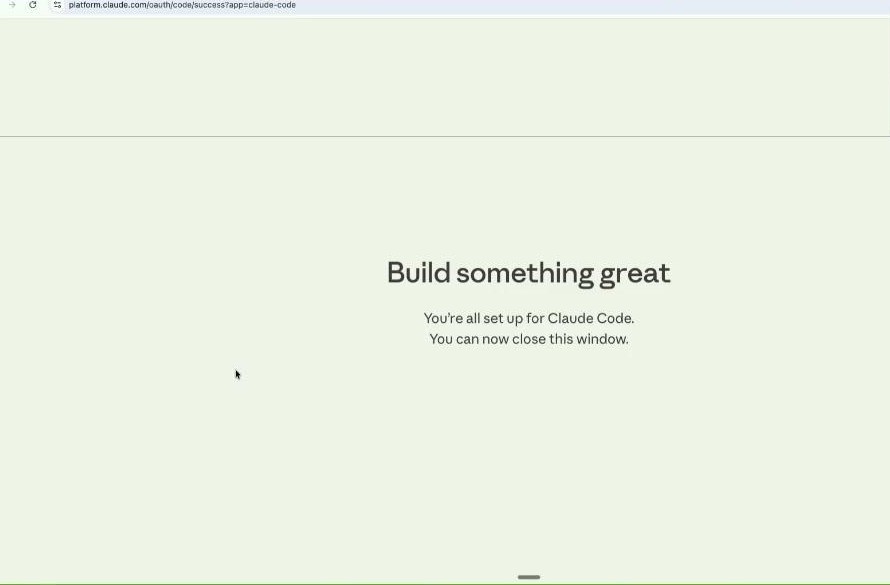
When you see "Build something great. You're all set up for Claude Code." you are authenticated.
Create your workspace folder and open Terminal from it
This is where all your Agency OS files will live.
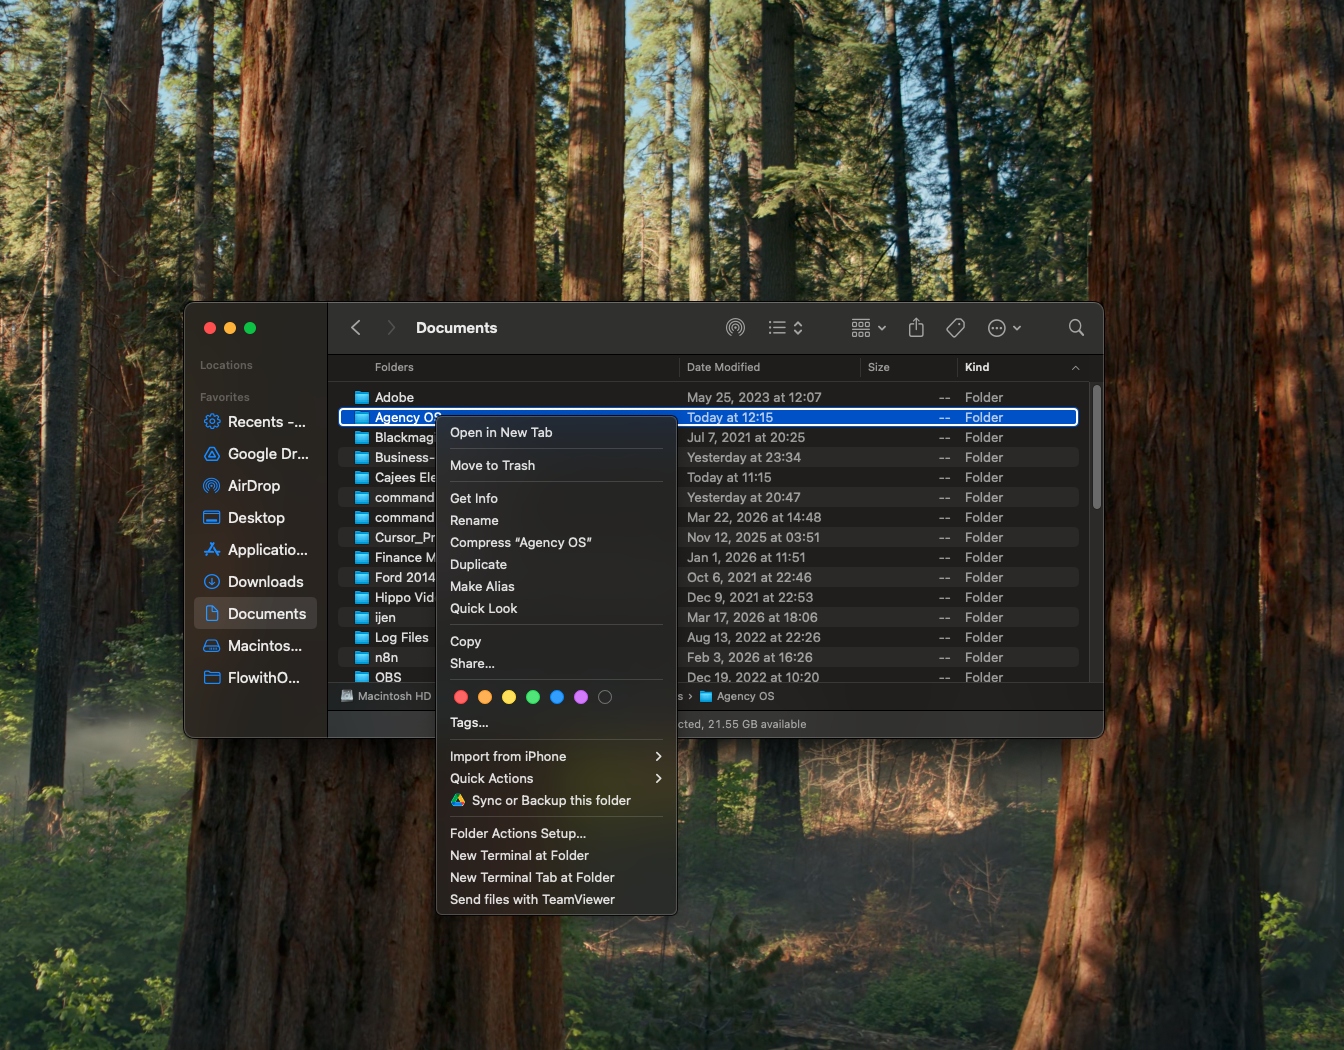
Open Finder, navigate to Documents, find the Agency OS folder. Right-click it and select "New Terminal at Folder."
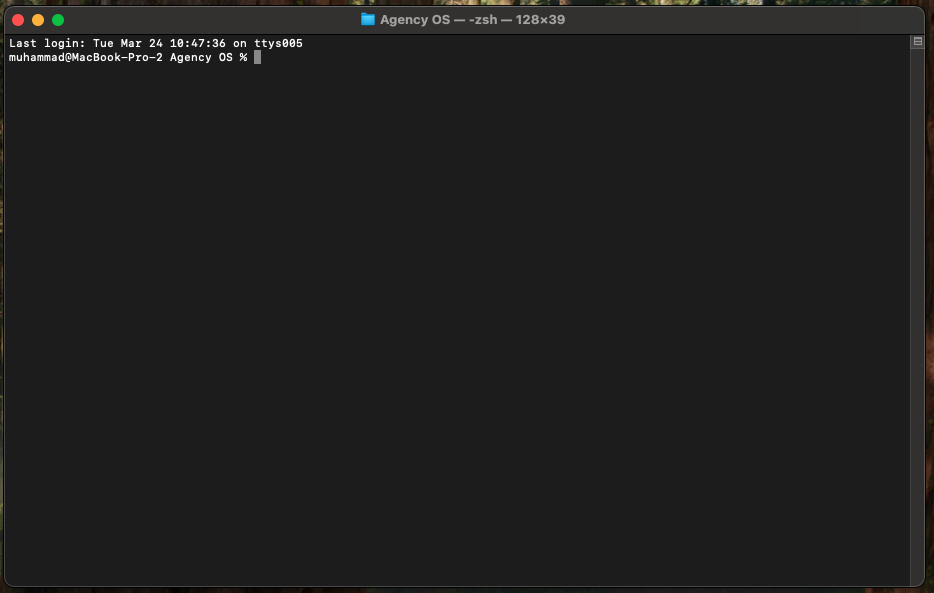
Your Terminal will open already inside the Agency OS folder.
Install the Agency OS plugin
In Terminal (not inside Claude Code), run these three commands one at a time:
Wait for that to finish, then run:
Then install the plugin itself. Adding the marketplace only makes it available to browse; this command actually installs it:
Important: Run these in Terminal itself, not as a message inside Claude Code. If Claude Code is open, type /exit first.
Start Claude Code and run Agency OS
In the Terminal that is open in your Agency OS folder, type claude and press Enter.
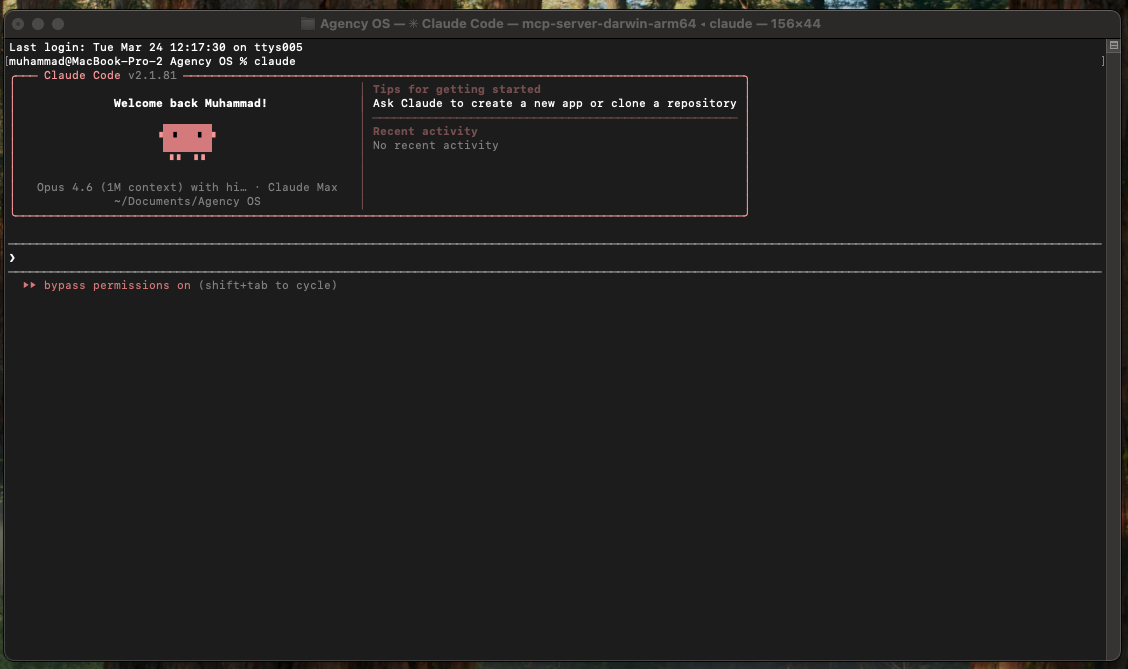
Claude Code will open and welcome you.
Verify Agency OS is installed: ask Is Agency OS installed? or type /agency-os and see if it autocompletes.
Type "run agency os" or /agency-os to start. If you do not already have a CLAUDE.md in the folder, accept the prompt to create one. If you do, leave it as is.
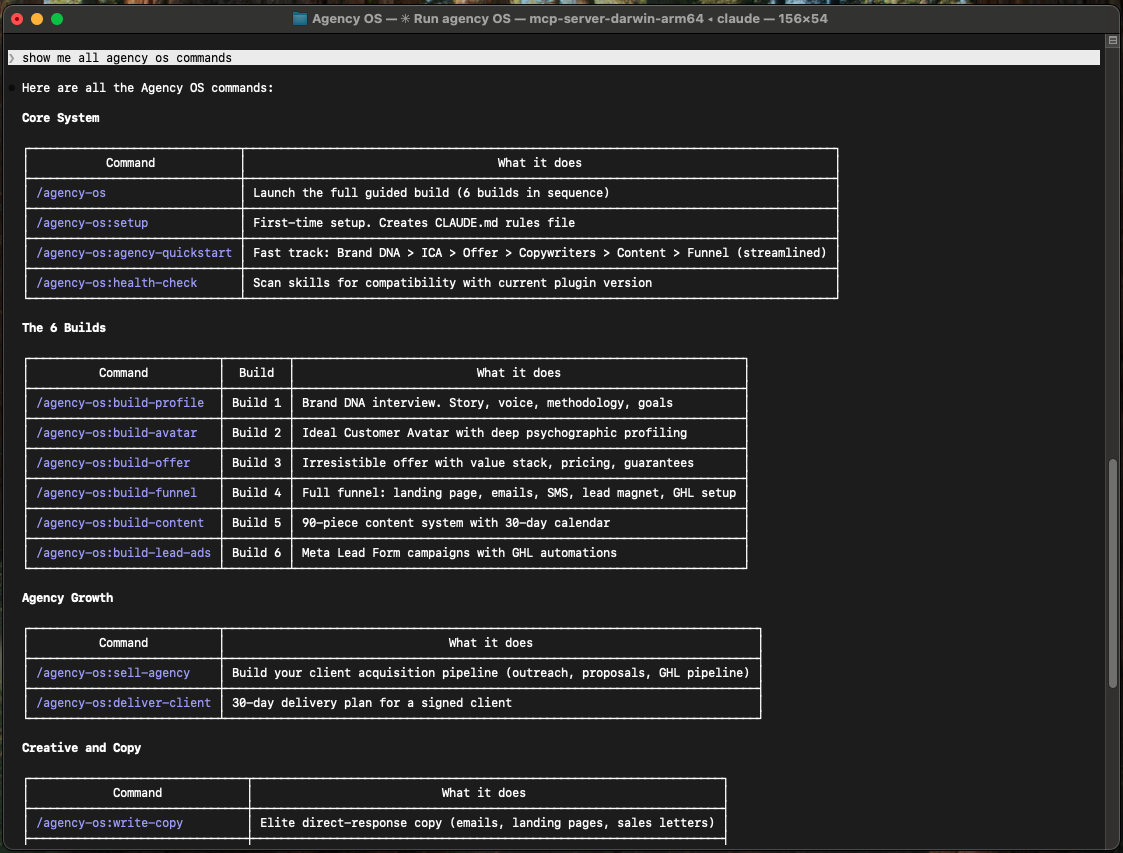
Once setup is complete, you have access to all Agency OS commands. Type "show me all agency os commands" to see the full list.
The script handles execution policy, all prerequisites, and the OneDrive/Documents folder pitfall. Skip to Step 8 below when it finishes. If you prefer to do it manually, follow Steps 1-8 in order.
- Third-party antivirus (RAV, Norton, McAfee, Kaspersky) often blocks npm and node during install. Pause it for 15 minutes during setup. Windows Defender is fine.
- PowerShell execution policy defaults to
Restrictedon many Windows installs, which blocksnpm.ps1. The Fast Path script fixes this automatically. Manually: Set-ExecutionPolicy -ExecutionPolicy RemoteSigned -Scope CurrentUser - OneDrive Documents can cause file-lock conflicts. If your Documents folder syncs to OneDrive, install Agency OS to
C:\Users\you\AgencyOSinstead. - Desktop App Code tab: if
/pluginsays "isn't available in this environment" even in Local mode after a hard quit, your Windows Desktop App build hasn't shipped plugin support yet. Use the PowerShell path below.
Install Git for Windows
Download from git-scm.com/downloads/win. Run the installer with default settings. This is required before Claude Code will work.
Open PowerShell
Press Windows key. Type PowerShell. Click "Run as administrator".
Install GitHub CLI
Close and reopen PowerShell after this installs.
Log in to GitHub
Select: GitHub.com > HTTPS > Login with a web browser. It will open your browser. Log in and enter the code shown in PowerShell.
Install Claude Code
Close and reopen PowerShell after installation.
Create your workspace folder
This is where all your Agency OS files will live. The plugin will install into this folder.
Install the Agency OS plugin
Open PowerShell from your Agency OS folder first. Navigate to the folder in File Explorer, click the address bar, type powershell, press Enter.
Run these three commands one at a time in PowerShell (not inside Claude Code):
Wait for that to finish, then run:
Then install the plugin itself. Adding the marketplace only makes it available to browse; this command actually installs it:
Important: Run these in PowerShell itself, not as a message inside Claude Code. If Claude Code is open, type /exit first.
Start Claude Code and verify Agency OS
Still in PowerShell inside your Agency OS folder, type:
Claude Code opens. Verify the plugin: ask Is Agency OS installed? or type /agency-os and see if it autocompletes.
Then run /agency-os to start. If you do not already have a CLAUDE.md in the folder, accept the prompt to create one. If you do, leave it as is.
Starting Agency OS
Installation is done. Here is how you start Agency OS every time.
Open the Claude Desktop App
Launch the Claude app from your Applications (Mac) or Start Menu (Windows).
Click the Code tab
At the top of the app, click "Code" (next to Chat and Cowork).
Confirm you are in Local mode
Check the mode selector at the bottom of the window. It should say Local. If it says Cloud / Default, click it and switch to Local.
Select your Agency OS folder
Click "Select a folder" and choose the Agency OS folder you created in Documents.
Run Agency OS
Type /agency-os in the chat input and press Enter. Agency OS will check your setup and guide you from there.
Open Finder
Click the Finder icon in your Dock (the smiling face at the bottom of your screen).
Go to your folder
In the sidebar, click Documents. Find the folder called Agency OS
Open Terminal here
Right-click (or Control-click) the folder. Scroll down the menu and look for "New Terminal at Folder" near the bottom.
Start Claude Code
Type claude and press Enter. You are now inside Claude Code.
Run your first command
Type run agency os and press Enter. Agency OS will check your setup and guide you from there.
Open File Explorer
Press Windows key + E to open File Explorer.
Go to your folder
Navigate to Documents > Agency OS
Open PowerShell here
Click in the address bar at the top. Type powershell and press Enter. PowerShell opens in your folder.
Start Claude Code
Type claude and press Enter. You are now inside Claude Code.
Run your first command
Type run agency os and press Enter. Agency OS will check your setup and guide you from there.
Key Commands
Type these inside Claude Code. Start with run agency os or /agency-os to begin. Then work through the builds in order.
Start Here
The 6 Builds
Agency Growth
Creative and Copy
Content Operations
Multiple Brands or Products
Utilities
Updating Agency OS
In most cases you do not have to do anything. Starting a new Claude Code session or reopening the Desktop App will automatically pull the latest version of the plugin.
Desktop App: Hard-quit the Claude Desktop App and reopen it. The plugin updates when the Code tab loads.
If auto-update does not work
Run these manually in Terminal (Mac) or PowerShell (Windows). Not inside Claude Code.
Pull the latest version
If you have not added the marketplace source yet, run this first:
You only need to do this once. If you already ran it during installation, skip to Step 2.
Update the plugin
Refresh the marketplace listing first:
Then re-run install to pull the new version. This is the step that actually upgrades it (custom marketplaces do not auto-update by default, so refreshing the listing alone is not enough):
This updates skills, commands, and plugin files. Your brand data (everything in brand/) is never touched by updates.
Restart so the new version loads
After a manual update, restart so Claude picks up the changes. The update is on disk, but the session you already have open is still running the old version until you restart.
Terminal: exit your current session (/exit or Ctrl+C), then type claude again.
Desktop App: hard-quit and reopen. On Mac, right-click the Dock icon and choose Quit. On Windows, open the system tray (click ^ if hidden), right-click Claude, and choose Quit.
Do not try /reload-plugins to skip the restart. In the Desktop App Code tab it returns "isn't available in this environment." A full restart is the only refresh.
Feeding it your calls
The single biggest quality jump in v4.0. The system learns how you actually think and talk from your real conversations, not just from the interview. Coaching calls, sales calls, podcast interviews. The more you give it, the more your content sounds exactly like you.
Get a transcript
Most meeting tools export a transcript in two clicks. Plain text or markdown is perfect.
Fireflies: open the meeting, Share or the export icon, choose transcript.
Otter: open the conversation, export as Plain Text.
Fathom: open the meeting, Share, Copy transcript.
Zoom cloud: download the Audio Transcript (VTT) file.
Google Meet / Granola / Read.ai / tl;dv / Loom: use their export or copy-transcript option.
No transcript tool? Drop the raw audio or video file in instead (mp3, mp4, m4a, wav). The system transcribes it locally for free.
Get it into your workspace (two ways)
Easiest, for text transcripts: just paste the transcript straight into the chat, or attach the text file with the + button. The skill will offer to file it for you and always asks before it writes anything. You never have to find a folder.
Or drop the file in manually (required for raw audio/video, since those are transcribed on your machine). Put it in this folder, creating it if needed:
Replace [your-workspace] with your actual workspace folder (for most people that is _default, or your client folder like client--acme). One transcript per file. Name them by date if you like, for example 2026-05-30-sales-call.txt.
Run the build
If you are setting up your profile for the first time, run /build-profile. If you already have a profile and are adding this layer, run /deepen-profile.
It scans the folder, shows you the cost, and asks before mining. Then it pulls your assumptions, your reframes, the way you diagnose, and the questions you ask, straight from how you actually talk.
Troubleshooting
Type Y to confirm. Close and reopen PowerShell. Then retry the install command.